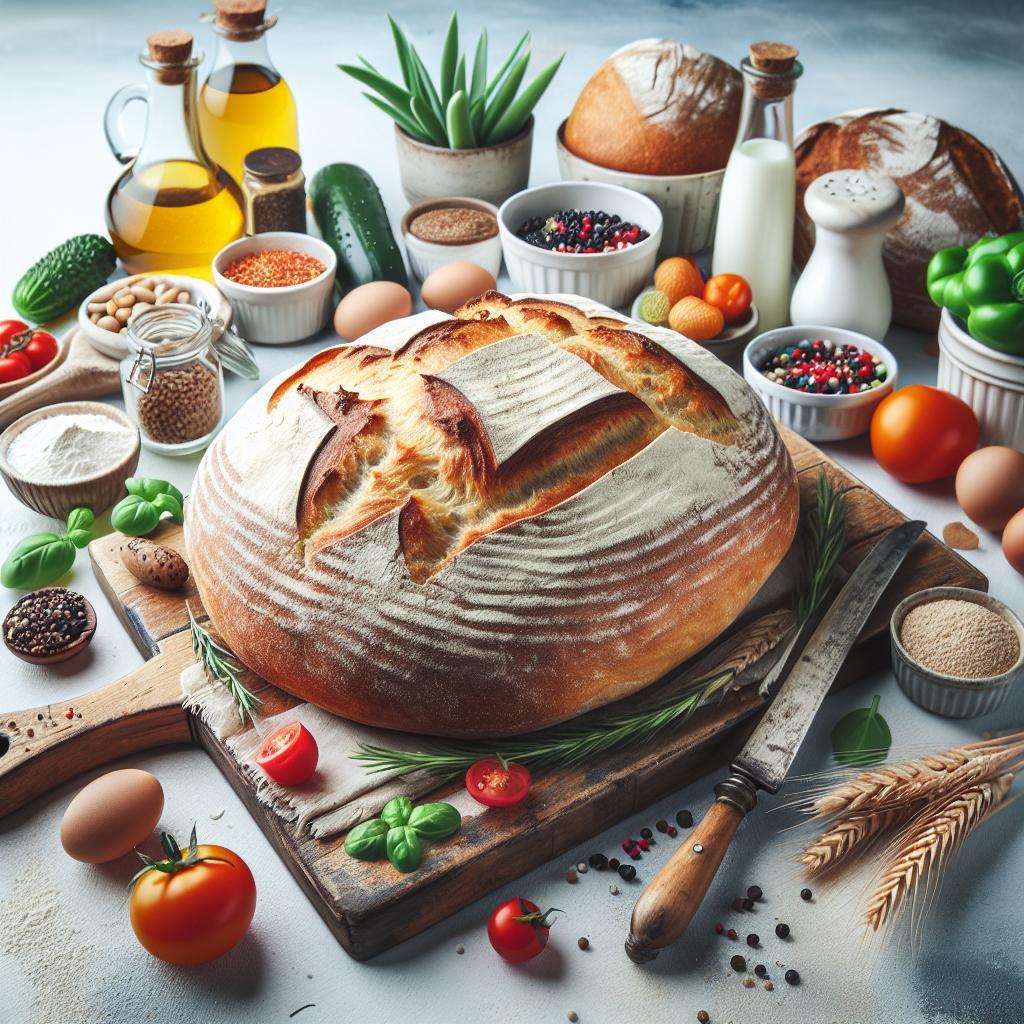
There’s something almost magical about the humble loaf of bread-its golden crust, tender crumb, and irresistible aroma can turn the simplest of meals into a feast. But mastering the art of baking perfect bread is more than just following a recipe; it’s a dance of precision, patience, and passion. In this article, we’ll unlock the secrets to mastering flour bake bread, guiding you step-by-step through the nuances that transform ordinary ingredients into extraordinary loaves. Whether you’re a curious beginner or a seasoned baker seeking to elevate your craft, prepare to embark on a journey where flour meets finesse, and every loaf tells a story of delicious triumph.
Mastering Flour Bake Bread is an art that intertwaters science with sensory delight, revealing how proteins and gluten shape the soul of your loaf. From the first touch of flour to the tempting aroma of the baking crust, understanding each element unlocks the secret to achieving bread with unrivaled texture and flavor. Let’s journey through the fascinating roles of flour types, hydration, kneading, and fermentation-elements that together compose the symphony of perfect bread.
Prep and Cook Time
- Preparation: 20 minutes
- Kneading: 15 minutes
- Fermentation: 1 hour 30 minutes (plus proofing)
- Baking: 35 minutes
- Total Time: Approximately 3 hours
Yield
One 900g loaf, ideal for 8-10 servings
Difficulty Level
Medium – perfect for intermediate bakers eager to refine their skills
Ingredients
- 500g bread flour (high-protein, sifted)
- 100g whole wheat flour (freshly milled if possible)
- 350ml water (lukewarm, about 25°C/77°F)
- 10g fine sea salt
- 7g active dry yeast
- 1 tbsp olive oil (optional for extra tenderness)
Instructions
- Blend your flours: Combine the bread flour and whole wheat flour in a large bowl, whisking together to evenly distribute proteins and bran, which will contribute to the dough’s structure and flavor complexity.
- Activate the yeast: In a small cup, dissolve the active dry yeast in lukewarm water with a pinch of sugar. Let it sit for 5-10 minutes until frothy. This confirms your yeast’s vitality, crucial for a consistent rise.
- Mix the dough: Pour the yeast mixture and olive oil (if using) into the flour blend. Gradually incorporate using a wooden spoon, then add salt. The salt enhances gluten strength and regulates yeast activity.
- Knead to develop gluten: Turn the dough onto a lightly floured surface and knead firmly for 12-15 minutes. Use the heel of your palm, folding and pressing-this engages the gluten network for a resilient crumb and chewy bite.
- First fermentation: Place the dough in an oiled bowl, cover with a damp cloth or plastic wrap. Let it ferment in a warm spot, around 24°C/75°F, for 1 to 1.5 hours until doubled in size. Patience here gifts you depth in flavor and airy texture.
- Shape the loaf: Gently deflate the dough, fold it over itself to create surface tension, then form into a tight oval or round shape, depending on your baking vessel.
- Proof before baking: Transfer the shaped dough onto parchment-lined baking sheet or banneton basket. Cover and proof for 45-60 minutes until it springs back slowly when poked, a sign of optimal rise.
- Preheat and slash: Heat your oven to 230°C (450°F) with a baking stone or steel inside for radiant heat. Before baking, confidently slash the loaf’s surface with a serrated blade-this controls expansion and showcases beautiful scoring artistry.
- Bake with steam: Bake for 15 minutes with steam by placing a pan of hot water on the oven floor or spritz the oven walls. Then reduce heat to 200°C (390°F) and bake another 15-20 minutes until crust is a deep golden brown and sounds hollow when tapped.
- Cool on a rack: Allow the loaf to cool completely on a wire rack before slicing. This final resting phase lets internal moisture redistribute, ensuring perfect crumb texture.
Tips for Success
- Flour blends: Experiment with spelt, rye, or pastry flour in small proportions to introduce new textures and subtle flavor layers without compromising gluten strength.
- Water temperature: Maintain consistent lukewarm water to aid yeast activation without killing it-typically between 22-28°C (72-82°F).
- Kneading tip: If dough resists, rest for 5 minutes to allow gluten relaxation before continuing; this builds strength without frustration.
- Fermentation environment: Utilize a proofing box or warm oven (turned off) to maintain consistent warmth and boost yeast performance.
- Storing your bread: Wrap cooled bread in a linen cloth or bread bag at room temperature to keep crust crisp and crumb fresh for days.
Serving Suggestions
This loaf’s golden crust and tender crumb pair wonderfully with rich, creamy butter, a drizzle of fragrant honey, or a topping of smashed avocado and fresh herbs. Try accompanying warm slices with roasted garlic hummus or a vibrant tomato chutney for an irresistible snack or breakfast.

| Nutrient | Per Serving (1 slice) |
|---|---|
| Calories | 150 kcal |
| Protein | 5g |
| Carbohydrates | 30g |
| Fat | 1g |
To deepen your understanding of flour types and gluten science, check out our related post The Ultimate Guide to Gluten and Flour Types. For further expert insight on bread fermentation techniques, visit King Arthur Baking’s Bread Baking Guide.
Q&A
Q&A: Mastering Flour Bake Bread – Secrets to Perfect Loaves Every Time
Q1: What is the most important type of flour to use for baking bread?
A1: The secret to perfect bread often begins with choosing the right flour. Bread flour, with its higher protein content (around 12-14%), is ideal because it develops more gluten, giving your loaf chewy texture and good structure. All-purpose flour can work too but may produce a softer crumb.
Q2: How does the protein content in flour affect my bread?
A2: Protein in flour transforms into gluten when mixed and kneaded, creating a stretchy network that traps gas produced by yeast. This process ensures your bread rises well and holds its shape, resulting in a light yet chewy loaf. Lower protein flours yield softer breads, while higher protein flours offer more chew and structure.
Q3: Can I mix different types of flour when baking bread?
A3: Absolutely! Blending flours can add depth to flavor and texture. For example, incorporating whole wheat or rye flour adds earthiness and complexity. Just remember, whole grain flours absorb more water and produce denser bread, so adjusting hydration and kneading time is crucial.
Q4: What role does hydration play in achieving the perfect loaf?
A4: Hydration refers to the water-to-flour ratio in your dough. Higher hydration creates a wetter dough that can produce an open crumb and airy texture, while lower hydration yields a tighter crumb and denser loaf. Mastering hydration is about balance-experimenting to suit your flour and preferred bread style.
Q5: Why is kneading important, and how do I know when enough is enough?
A5: Kneading builds gluten strands, offering strength and elasticity to the dough. You’ll know you’ve kneaded enough when the dough feels smooth and springs back gently when poked. Another test is the “windowpane test,” where you can stretch a small piece thin enough to see light without tearing.
Q6: How do proofing and fermentation influence the final bread?
A6: Proofing allows yeast to ferment, producing gas that makes the dough rise. This process develops flavor and texture. Over-proofing can lead to a collapsed loaf, while under-proofing results in a dense crumb. Timing depends on room temperature and ingredients, so watch for your dough to roughly double in size.
Q7: What’s the secret to getting a beautiful crust on my bread?
A7: Steaming your oven at the start of baking helps develop a crisp, shiny crust. This is because moisture delays crust formation, allowing the loaf to expand fully. You can create steam by placing a pan of hot water inside or spraying water into the oven just after loading the dough.
Q8: How can I make sure my bread doesn’t end up too dense?
A8: Dense bread often results from insufficient gluten development, low yeast activity, or under-proofing. Use bread flour, knead thoroughly, allow your dough to rise until doubled, and ensure your yeast is fresh. Also, be gentle when shaping to preserve the airy bubbles formed during fermentation.
Q9: What tips can help bread stay fresh longer?
A9: To keep your bread fresh, store it in a paper bag or bread box at room temperature. Avoid plastic bags where moisture can cause sogginess or mold. For longer storage, slice and freeze your bread, then toast or warm slices directly from the freezer.
Q10: Can I customize my bread with add-ins and still get perfect results?
A10: Yes! Ingredients like seeds, nuts, herbs, or dried fruits add character and texture. Add them during the final stretch of kneading to evenly distribute without damaging gluten structure. Keep add-ins moderate in quantity to maintain dough balance and rise.
Mastering bread baking is a joyful blend of science, art, and patience. With practice and attention to your flour and technique, every loaf can be a perfect masterpiece!
In Summary
As the aroma of freshly baked bread fills your kitchen, remember that mastering the art of flour and yeast is both science and soul. With every knead, rise, and bake, you’re not just crafting loaves-you’re nurturing a timeless tradition. Armed with these secrets to perfect bread, each batch brings you closer to that flawless crust and tender crumb you crave. So dust off your apron, embrace the magic of flour, and let your journey to bakery-worthy loaves begin. Because in the world of bread, practice is the secret ingredient that makes every slice a masterpiece.


