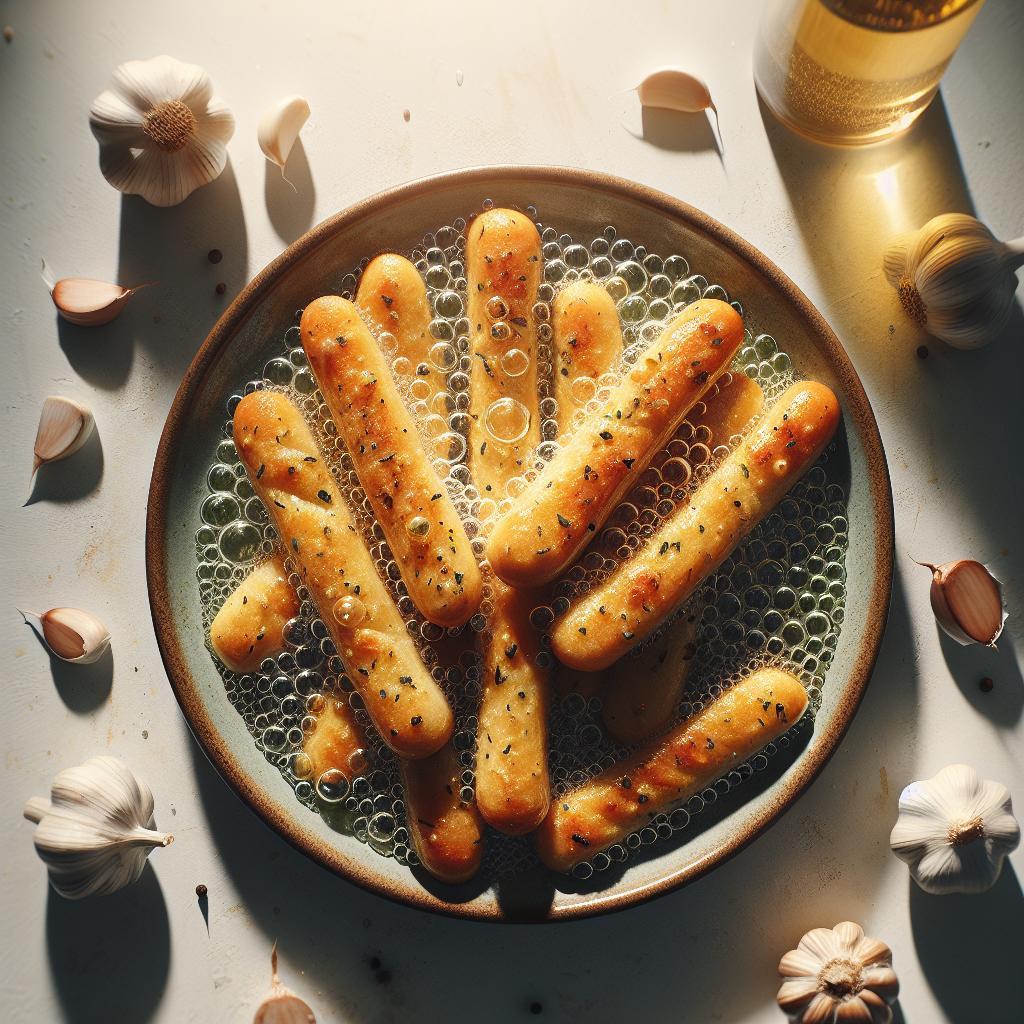
There’s something irresistibly comforting about tearing into warm, golden roasted garlic breadsticks fresh from the oven. These savory homemade delights transform simple ingredients into a symphony of flavors-crispy on the outside, soft and buttery on the inside, infused with the rich aroma of caramelized garlic. Whether served as a crowd-pleasing appetizer, a cozy snack, or the perfect side to your favorite meal, golden roasted garlic breadsticks offer a hearty taste experience that’s both timeless and delightfully easy to achieve at home. In this article, we’ll uncover the secrets to baking these fragrant sticks of goodness, sharing tips and techniques to elevate your baking game and fill your kitchen with mouthwatering aromas.
Golden Roasted Garlic Breadsticks bring an irresistible aroma and a golden crust that transforms any meal into a comforting experience. Rooted in rustic Italian tradition yet endlessly adaptable, these breadsticks combine a crisp exterior with a tender, buttery interior infused with the rich aroma of roasted garlic. Whether you’re hosting a cozy dinner or simply craving a savory snack, mastering homemade golden roasted garlic breadsticks will elevate your baking repertoire and delight your senses.
Prep and Cook Time
- Preparation: 25 minutes (including dough rising)
- Cooking: 18-22 minutes
- Total Time: Approximately 45 minutes
Yield
Makes approximately 12-14 golden roasted garlic breadsticks, perfect for sharing or saving as delicious leftovers.
Difficulty Level
Medium: Basic dough kneading skills required. Ideal for bakers eager to advance their homemade bread techniques.
Ingredients
- 2 ½ cups all-purpose flour, spooned and leveled
- 1 packet (2 ¼ tsp) active dry yeast
- 1 cup warm water (110°F/43°C)
- 2 tablespoons olive oil, plus extra for brushing
- 1 teaspoon sugar
- 1 teaspoon salt
- 6 large garlic cloves, roasted and finely minced
- 2 tablespoons unsalted butter, melted
- 1 tablespoon freshly chopped parsley (optional, for garnish)
- Coarse sea salt for sprinkling
Instructions
- Activate the yeast: In a small bowl, combine warm water, sugar, and yeast. Let sit for 5-7 minutes until frothy, signaling the yeast is active.
- Mix the dough: In a large bowl, whisk together the flour and salt. Add the yeast mixture and olive oil. Stir until the dough begins to come together.
- Knead the dough: Transfer dough to a lightly floured surface and knead for 8-10 minutes until smooth and elastic. To test readiness, poke the dough: if it springs back slowly, it’s perfect.
- First rise: Place dough in a lightly oiled bowl, cover with a damp cloth or plastic wrap. Let it rise in a warm spot for 1 to 1.5 hours, or until doubled in size.
- Prepare roasted garlic: Preheat oven to 400°F (205°C). Slice the top off a garlic bulb, drizzle with olive oil, wrap in foil, and roast for 30 minutes until golden and soft. Squeeze out cloves and mince finely.
- Shape breadsticks: Punch down the risen dough. Divide into 12-14 equal portions. Roll each into a 6-inch long stick, slightly tapering ends for a rustic look.
- Second rise: Place breadsticks on a parchment-lined baking sheet, spaced apart. Cover and let rise for another 25 minutes until puffy.
- Flavor brush: Combine the melted butter with the minced roasted garlic. Generously brush each breadstick for maximum flavor.
- Bake: Bake in the preheated oven for 18-22 minutes, rotating halfway through, until golden brown and crisp on the edges.
- Finish with flair: Immediately after baking, brush with additional olive oil, sprinkle with coarse sea salt and fresh parsley for a bright, aromatic finish.
Chef’s Notes
- For an extra flavor layer, mix a pinch of smoked paprika or dried Italian herbs into the melted butter before brushing.
- Substitute whole wheat flour for half the all-purpose flour to add a nutty depth and hearty texture.
- If your kitchen is cool, place the dough bowl inside an oven warmed to 200°F (then turned off) to speed up the rising process.
- Make-ahead tip: After the second rise, freeze the shaped breadsticks and bake from frozen, adding an extra 5 minutes to the bake time.
- Avoid overworking the dough to keep your breadsticks tender and light-knead just until elastic.
Serving Suggestions and Pairings
Golden roasted garlic breadsticks become a versatile star alongside numerous dishes:
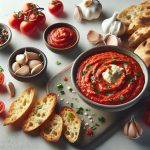
- Dip them in marinara or roasted red pepper sauce for a vibrant contrast of sweet and savory notes.
- Serve alongside hearty soups such as creamy tomato bisque or robust lentil stew for a warm, satisfying combo.
- Pair with salads, especially crisp Caesar or arugula with lemon vinaigrette, offering a crunchy savory balance.
- For a finishing touch, sprinkle grated Parmesan cheese over warm breadsticks or add a flourish of fresh basil or thyme leaves.
- Wrap with a slice of roasted vegetables or fresh mozzarella to turn these golden roasted garlic breadsticks into an elegant hors d’oeuvre.

| Nutrient | Per Serving |
|---|---|
| Calories | 150 |
| Protein | 4g |
| Carbohydrates | 22g |
| Fat | 5g |
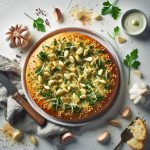
For more savory homemade bread recipes, explore our Herb and Cheese Focaccia, and deepen your baking skills. Curious about the science behind yeast fermentation? Check this detailed explanation from King Arthur Baking to understand how your golden roasted garlic breadsticks develop their perfect rise and texture.
Q&A
Q&A: Golden Roasted Garlic Breadsticks: A Savory Homemade Delight
Q1: What makes these garlic breadsticks golden and crispy?
A1: The key to the golden, crispy texture lies in roasting the breadsticks with a generous brushing of garlic-infused butter or olive oil. This coating caramelizes during baking, creating a beautifully golden crust while keeping the inside soft and fluffy.
Q2: Can I customize the flavor of the breadsticks?
A2: Absolutely! While garlic is the star ingredient, feel free to experiment by adding herbs like rosemary, thyme, or oregano. A sprinkle of Parmesan or a dash of smoked paprika can also elevate the taste, giving you a unique twist every time.
Q3: What type of flour works best for these breadsticks?
A3: All-purpose flour is a reliable choice for this recipe, providing a light yet sturdy structure. For a heartier texture, whole wheat flour or a blend of both can be used, adding a subtle nuttiness that pairs wonderfully with garlic.
Q4: How do I ensure the garlic flavor is neither too strong nor too subtle?
A4: Roasting minced garlic gently in butter or oil before spreading it on the breadsticks mellows the raw sharpness while infusing a deep, savory aroma. Start with 3-4 cloves for a batch, and adjust according to your preference.
Q5: Can these breadsticks be made in advance?
A5: Yes! You can prepare the dough ahead of time and refrigerate it overnight for better flavor development. Baked breadsticks also reheat beautifully in a warm oven, regaining their crispy exterior and soft center.
Q6: What dipping sauces pair well with golden roasted garlic breadsticks?
A6: These breadsticks are a versatile companion to a variety of dips. Classic marinara, creamy spinach-artichoke dip, or even a tangy roasted red pepper sauce make perfect partners to complement their garlicky goodness.
Q7: Are these breadsticks suitable for beginner bakers?
A7: Definitely! The recipe is straightforward with simple ingredients and forgiving techniques. Even novice bakers can enjoy the rewarding experience of crafting golden roasted garlic breadsticks from scratch.
Q8: How can I make these breadsticks gluten-free?
A8: Swap in a quality gluten-free flour blend formulated for baking. You may need to slightly adjust the hydration and kneading time, but the savory, garlicky flavor will remain just as delightful.
Q9: What’s the best way to store leftover breadsticks?
A9: Store cooled breadsticks in an airtight container at room temperature for up to two days. For longer storage, freeze them wrapped tightly, then reheat in the oven to restore their freshly baked texture.
Q10: Can I add cheese inside the breadsticks for extra richness?
A10: Certainly! Incorporate mozzarella or cheddar cheese strips into the dough before shaping for a melty surprise inside. Just be sure to seal the edges well so the cheese stays snug during baking.
Key Takeaways
As the golden crust of these roasted garlic breadsticks cools to a perfect crunch, you’ll realize that this humble recipe is more than just a side dish-it’s an invitation to savor the simple joys of homemade comfort. Crisp yet tender, infused with the deep, mellow richness of roasted garlic, each bite tells a story of patience, flavor, and love baked into every twist. Whether paired with your favorite pasta, dipped in creamy sauces, or enjoyed straight from the oven, these breadsticks elevate any meal into a memorable experience. So next time you crave a bakery-worthy treat with a savory twist, remember: the magic of golden roasted garlic breadsticks is just a kitchen away.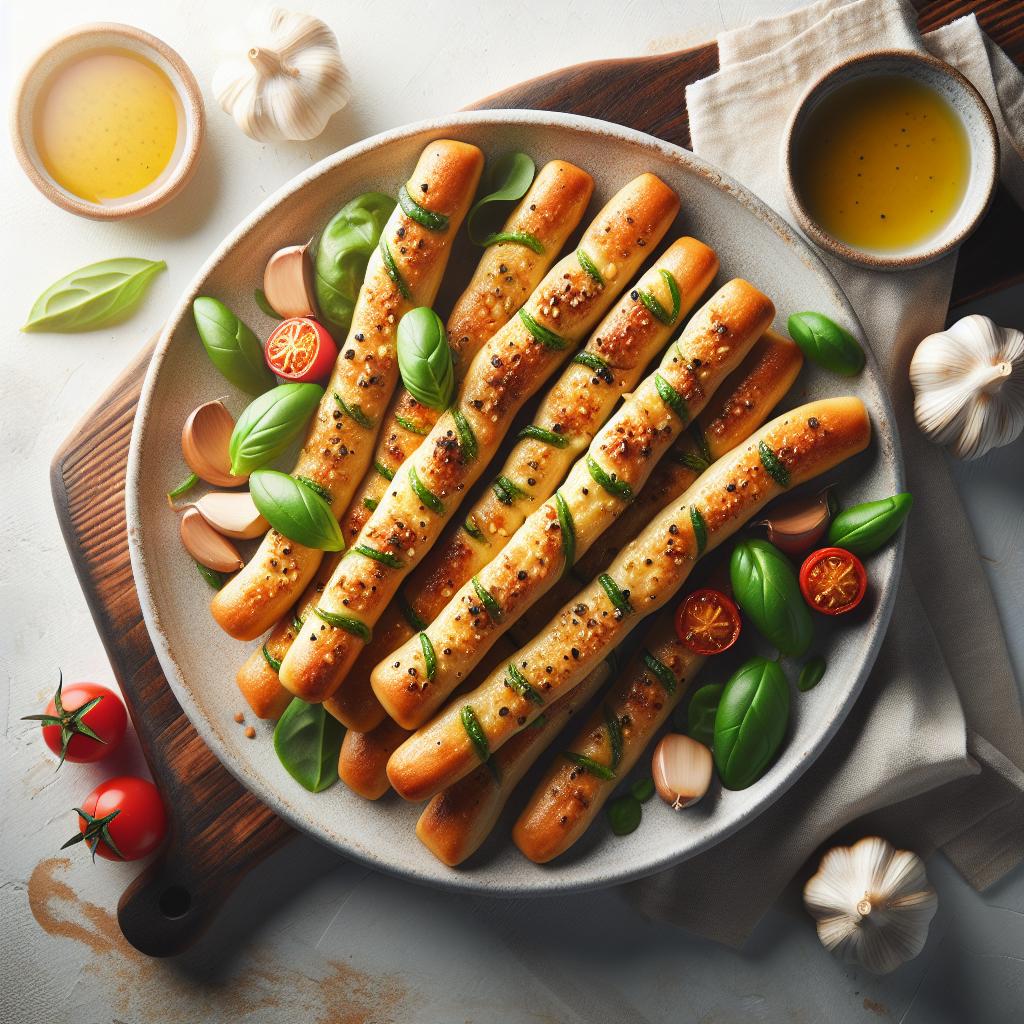
